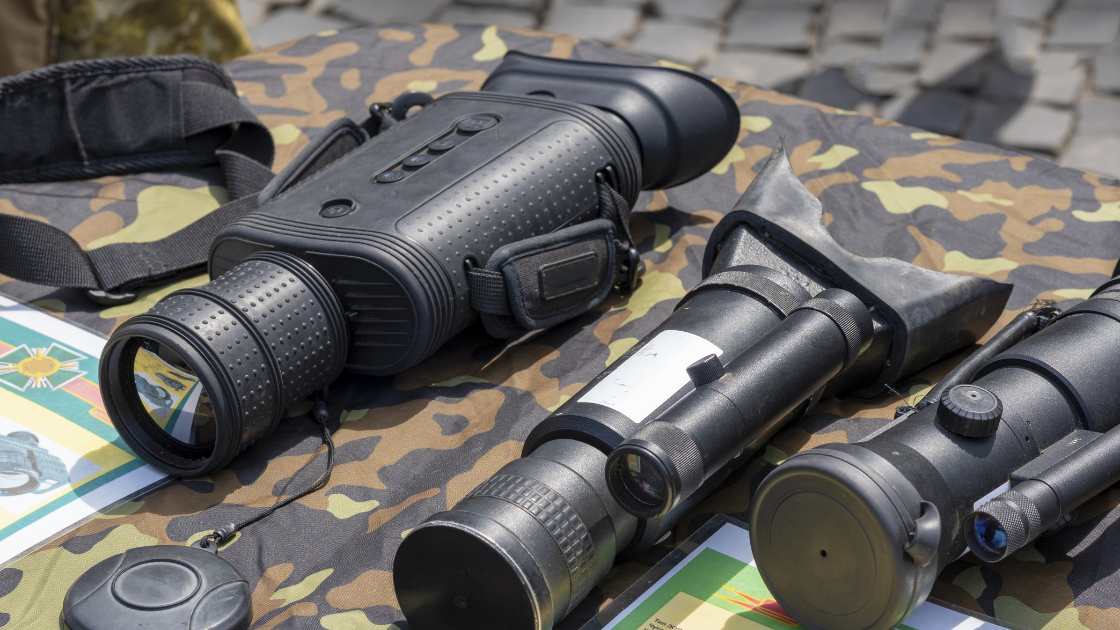
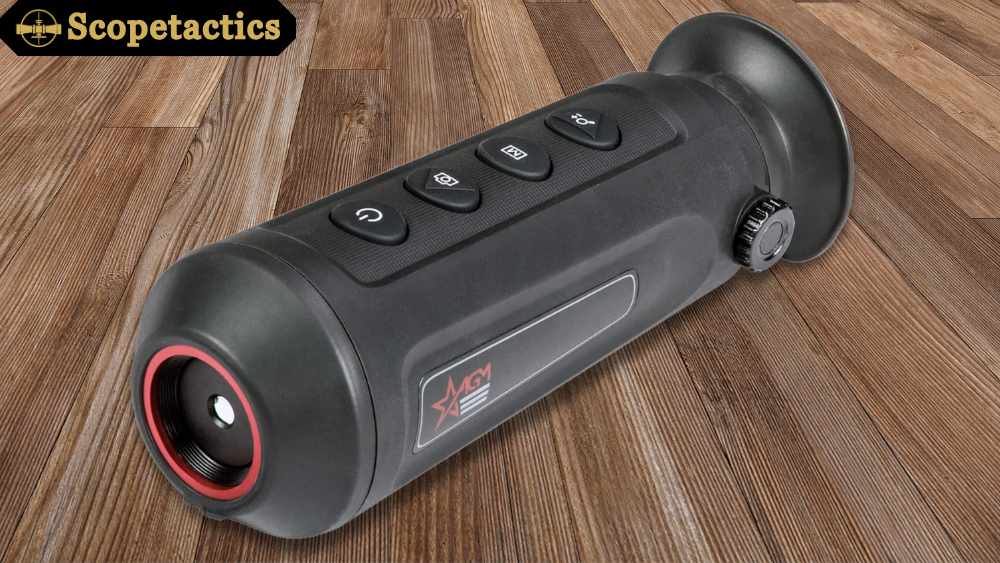
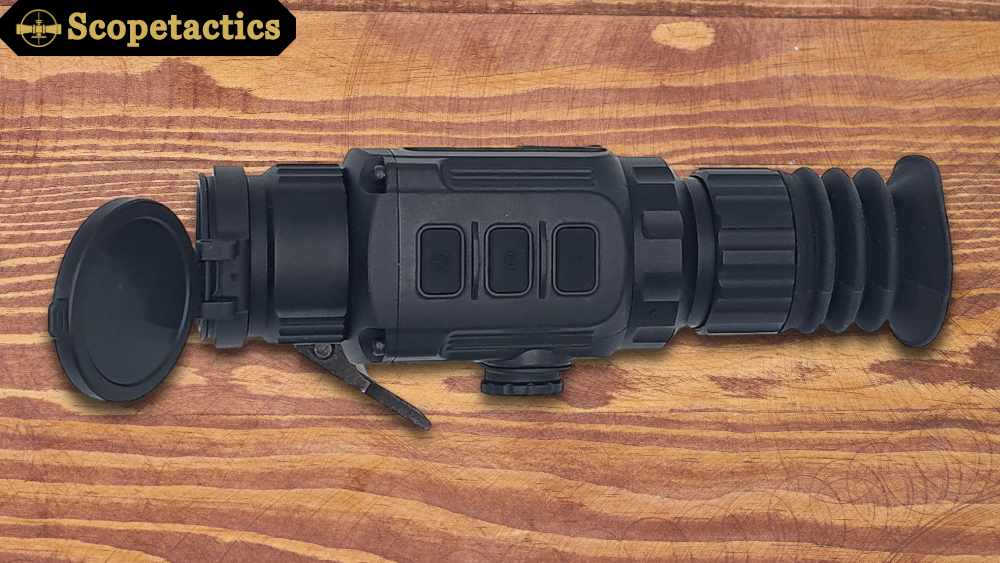
Unlike traditional rifle scopes that rely on visible light, a thermal scope detects heat signatures. It uses a thermal imaging sensor to pick up infrared radiation emitted by objects, creating a clear image even in complete darkness, fog, smoke, or light brush.
Here’s why hunters and law enforcement might prefer a thermal scope:
- Superior Night Vision: Thermal scopes excel in low-light conditions where traditional scopes become useless. You can easily spot targets during nighttime hunts or search and rescue operations.
- Environmental Advantages: Fog, smoke, or light brush can significantly hinder visibility with traditional scopes. Thermal scopes cut through these obstacles, allowing you to see heat signatures.
- Tracking Warm-Blooded Animals: Thermal scopes excel at detecting the body heat of animals, making them ideal for hunting during low-light hours or in dense cover.
Limitations of Thermal Scopes (Compared to Traditional Scopes):
- Cost: Thermal scopes are generally more expensive than traditional scopes.
- Image Detail: While offering superior low-light vision, thermal scopes might not provide the same level of detail as high-quality traditional scopes in good lighting conditions.
- Identification: Thermal images might not provide enough detail for precise animal identification at long distances.
- Battery Life: Battery life can be a concern with thermal scopes, so proper planning and spare batteries are crucial.
Importance of Proper Sight-In for Ethical and Accurate Shooting
Regardless of the type of scope, proper sight-in is essential for responsible and ethical hunting practices. Here’s why:
- Accuracy: A properly sighted-in scope ensures your shots hit the intended target, minimizing wounding losses and ensuring a clean kill.
- Safety: An improperly sighted-in scope can lead to missed shots or stray bullets, posing a safety risk to yourself and others.
- Ethical Hunting: Ethical hunting practices emphasize clean kills and minimizing animal suffering. A well-sighted scope allows for precise shot placement, reducing the chances of wounding an animal.
By understanding the capabilities and limitations of thermal scopes, along with the importance of proper sight-in, you can make informed decisions about their use and ensure responsible and accurate shooting practices.
Safety Precautions: Prioritizing Responsible Gun Handling
Ensuring safety is paramount when engaging in any form of shooting, particularly when utilizing thermal scopes for hunting or target practice. Adhering to the NRA gun safety rules provides a solid foundation for safe firearm handling. Always treat your firearm as if it were loaded, regardless of its actual status. This fundamental rule instills a mindset of caution and responsibility, reducing the risk of accidents.
Selecting the appropriate time and location for shooting activities is equally crucial. Optimal conditions typically include low-light environments, where thermal scopes excel in detecting heat signatures, such as during dawn or dusk. Additionally, choosing a shooting range that prioritizes safety measures and provides a clear line of sight without endangering bystanders or property is essential.
Before heading out, gather all necessary equipment. This includes your rifle, fitted with the thermal scope, an ample supply of ammunition, and any tools required for adjustments or maintenance, such as hex keys and screwdrivers. Taking the time to ensure your gear is in top condition contributes to a smoother and safer shooting experience.
One critical preparatory step is sighting in your thermal scope. This process fine-tunes the alignment of the scope with your rifle, ensuring accuracy and precision during use. To do this effectively, you’ll need a sighting-in target positioned at an appropriate distance, typically matching your intended shooting range. This target provides a reference point for adjusting the scope’s elevation and windage settings until your shots consistently hit the desired point of impact.
By following these safety precautions and preparatory steps, you not only enhance your shooting proficiency but also mitigate potential risks associated with firearm use. Remember, responsible gun ownership goes hand in hand with safety awareness and proper training.
Creating a Thermal Target
Traditional paper targets, while effective for conventional sighting-in exercises, are not suitable for thermal scopes due to their lack of heat signatures. Thermal scopes rely on detecting differences in temperature to create images, making traditional paper targets ineffective as they do not emit heat. This creates a content gap in the realm of thermal scope zeroing and practice.
To address this gap, alternative target creation methods have been devised, providing thermal scope users with viable options for sighting in and practice sessions. One DIY method involves using hot water bottles placed on a metal plate. The setup entails heating water to a sufficiently high temperature and filling several bottles. These bottles are then arranged on a metal plate or surface, which acts as a heat conductor, enhancing thermal contrast. However, this method has limitations, including the need for a constant supply of hot water and the limited lifespan of the heat emitted by the bottles.
Another DIY approach involves using spray-painted cardboard with strategically placed heat sources. Cardboard sheets are sprayed with heat-resistant paint, preferably in dark colors that absorb heat effectively. Heat sources such as small electric heaters, heat lamps, or even candles can be positioned behind the cardboard to create distinct heat signatures. This setup allows for versatility in target design and material variations, offering a cost-effective solution for thermal scope users. However, it’s essential to ensure safety measures are in place when using heat sources near combustible materials like cardboard.
While these DIY methods provide practical alternatives for thermal target creation, commercial thermal zeroing targets are also available in the market. These targets are specifically designed to emit thermal signatures, facilitating precise zeroing and calibration of thermal scopes. While they offer convenience and consistency, DIY methods remain appealing for their flexibility and cost-effectiveness.
In conclusion, traditional paper targets are not suitable for thermal scopes due to their lack of heat signatures. Alternative methods such as hot water bottles on a metal plate and spray-painted cardboard with heat sources offer viable solutions for thermal target creation. While commercial thermal zeroing targets are available, DIY methods provide flexibility and cost-effectiveness for thermal scope users seeking to enhance their shooting skills.
Mounting and Boresighting
Boresighting is a process used to align the firearm’s barrel with the optical axis of a traditional scope. This alignment ensures that the rifle is initially aimed in the same direction as the scope’s reticle, reducing the amount of adjustment needed to zero the rifle at the desired distance. It typically involves looking through the bore of the rifle and adjusting the scope’s windage and elevation settings until the reticle aligns with the target seen through the bore.
However, boresighting might not be necessary for thermal scopes, depending on the model. Unlike traditional scopes, thermal scopes do not rely on visible light to create an image but rather detect differences in temperature. As a result, the alignment between the thermal scope and the rifle’s bore may not be as critical, as long as the thermal image accurately reflects the point of impact.
For specific guidance on mounting and bore sighting a thermal scope, it’s recommended to consult the manufacturer’s instructions. Different thermal scope models may have specific mounting procedures or calibration processes tailored to their design and features. Following the manufacturer’s instructions ensures optimal performance and accuracy when using a thermal scope for hunting or shooting applications.
Sighting-In Process
In the sighting-in process, firing groups play a crucial role in determining the point of impact of your shots. A firing group refers to a series of shots fired at a target from a fixed position. By analyzing the grouping of these shots on the target, you can ascertain where your rifle is shooting in relation to your point of aim. Ideally, your shots should form a tight cluster around your intended point of aim, indicating proper alignment between your rifle and the reticle of your scope. Adjustments to the reticle are then made based on the observed grouping to bring the point of impact in line with the point of aim.
Windage and elevation knobs on a scope allow for precise adjustments to account for horizontal and vertical deviations in your shot placement, respectively. The windage knob controls the horizontal alignment of the reticle, moving the point of impact left or right. Similarly, the elevation knob adjusts the vertical alignment of the reticle, shifting the point of impact up or down. By turning these knobs in the appropriate direction and incrementally, you can bring your shots closer to the desired point of aim, effectively zeroing your rifle.
Confirmatory shots are essential to validate the adjustments made to your scope and ensure sight alignment accuracy. After each adjustment to the windage and elevation knobs, it’s crucial to fire additional rounds at the target to confirm that the point of impact has indeed shifted as intended. Taking confirmatory shots helps to refine the zeroing process and provides confidence that your rifle is accurately sighted-in for the desired distance and conditions.
In summary, the sighting-in process involves analyzing firing groups to determine point of impact, adjusting windage and elevation knobs to align the reticle with the point of aim, and taking confirmatory shots to validate sight alignment. This iterative process ensures that your rifle is properly zeroed and ready for precise and accurate shooting.
Here are some common mistakes to avoid during sight-in:
- Rushing the process: Sight-in takes patience and precision. Don’t try to blaze through shots. Take your time, focus on consistent technique, and let the barrel cool between shots.
- Ignoring fundamentals: Good shooting form is key. This includes proper grip, stance, breathing control, and trigger control. Inconsistency in these areas will throw off your aim regardless of sight adjustments.
- Forgetting the basics: Double-check your scope mount for tightness and ensure it’s level. A loose or canted scope will never zero properly.
- Starting too far away: Begin at a short distance, typically 25 or 50 yards, to get on paper quickly. Gradually increase the distance as your group tightens.
- Making large adjustments: Small, deliberate adjustments to your scope’s turrets are crucial. Cranking them excessively will make it harder to zero in and waste ammo.
- Neglecting ammo: Not all ammo is created equal. Use the same type and brand of ammunition you plan to use for actual shooting when sighting in.
Utilizing the manufacturer’s resources is a great way to avoid these mistakes. Most scope and rifle manufacturers offer detailed manuals and online tutorials that walk you through the sight-in process specific to their product. Take advantage of these resources!
Seek professional help from a gunsmith if:
- You’re encountering mechanical issues with your rifle or scope that prevent proper sight-in.
- You’re a new shooter and feel overwhelmed by the process. A gunsmith can guide you through sight-in and ensure your rifle is safe and functioning correctly.
- You’re looking to achieve a very specific zero distance beyond your comfort level of adjustment.
Final Thought
Don’t underestimate the importance of properly sighting-in your thermal scope. While it excels at picking up heat signatures, it won’t magically place your shots. A misaligned scope can still lead to misses and wasted opportunities.
Remember, proper sight-in translates to confidence in the field. You’ll know your equipment is dialed in, allowing you to focus on the hunt and take ethical shots.
Safety First! Always prioritize safe firearm handling practices during sight-in. Be certain of your target and surroundings, and keep your finger off the trigger until ready to fire.
Share Your Knowledge! Have you mastered the art of thermal scope sight-in? Share your tips and tricks in the comments below! New to thermal scopes? Feel free to ask questions – the wisdom of the community awaits!


Leave a Reply